Traveling with children often means navigating bustling airports while managing rolling suitcases, snacks, and toys that never seem to stay put. Young companions bring excitement and unpredictability, especially as shoes come off at security and belongings scatter in every direction. Those ever-present glass bins quickly pile up, adding to the chaos. Crowded terminals, long corridors, and the pressure of making tight connections can create a challenging experience for even the most seasoned traveler, leaving everyone wishing for a smoother journey.
Still, there’s a way to glide through terminals without raising blood pressure. A few clever hacks, thoughtful tools and on-the-spot tricks can turn what feels like an obstacle course into a series of manageable steps. With the right approach, you’ll zip between gates like a local commuter rather than a flustered tourist.
Why This Journey Feels Different
- Terminal layouts span acres, so walking distances often outstretch typical stroller-friendly zones. Bright signage can distract curious explorers, leading to unexpected detours.
- Security checkpoints require unpacking every gadget and bag, which means hands full and little ones vying for attention. Each tray multiplies the mental load.
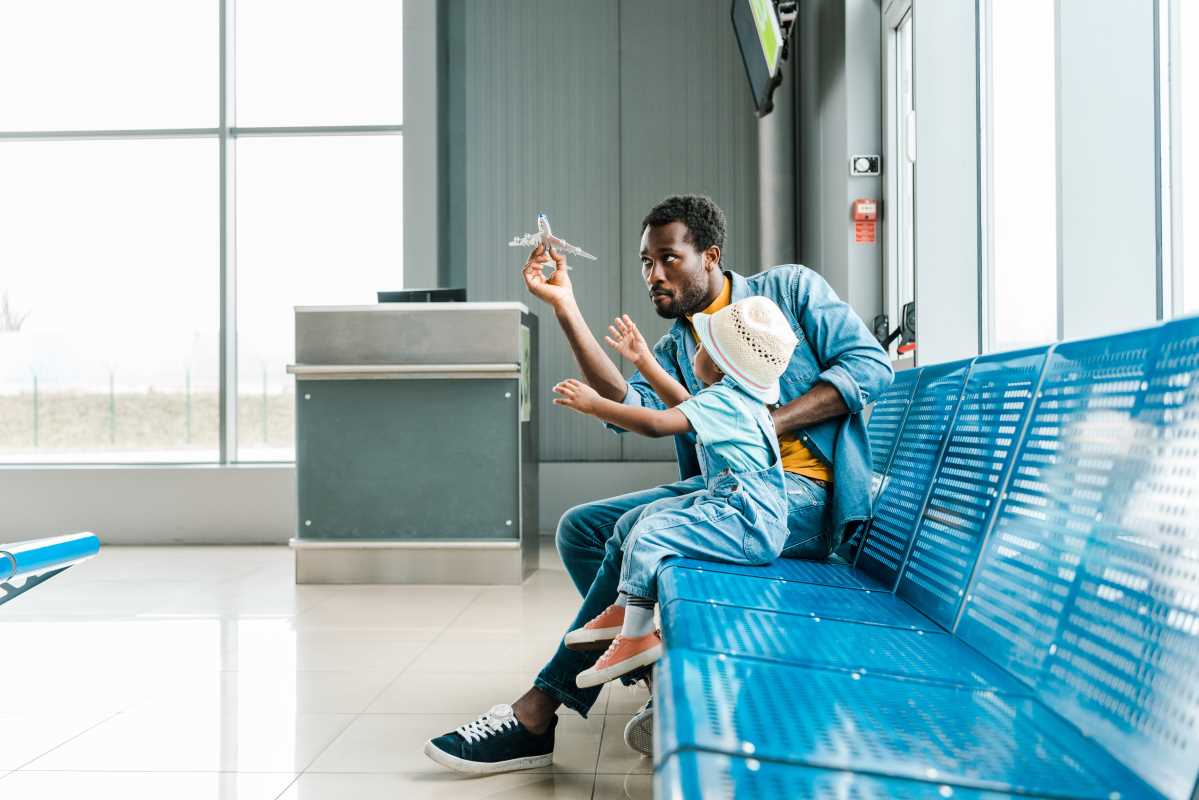
- Waiting areas can feel like pressure cookers when energy runs low; narrow seating and unpredictable boarding announcements turn calm moments into scramble-panic cycles.
- Customs and passport control introduce another layer: official procedures mix with toddler impatience, so even a 10-minute line can stretch into what feels like an eternity.
- Snack schedules and nap windows rarely align with airport timetables, creating tension that can spiral unless you carve out micro-schedules on the go.
Every Step Has Its Value
Zooming through sprawling terminals without heart-pounding stress means respecting how kids perceive new environments. They latch onto bright lights, glass walls and moving walkways in ways adults rarely do, so the journey unfolds from their viewpoint, not yours.
Embracing that shift changes everything. You go from herding a small parade to guiding curious explorers. That mindset frees you to anticipate surprises rather than scramble when they happen. You’ll spot a water fountain that doubles as an impromptu play station, or a quiet corridor perfect for stretching restless legs.
Practical Tools for Easy Moves
- Portable Privacy Pod: This pop-up tent gives kids a defined play or rest zone. Advantage: shields from sensory overload. Steps: 1) Unzip carry bag and flick wireframe open, 2) anchor corners with included sandbags or seatbelt straps, 3) drape lightweight quilt for extra coziness. Cost: around $30 online, shipping available in most regions. Insider tip: attach a clip-on nightlight inside pocket for a comforting glow during unexpected naps.
- Compact Snack Station: A segmented silicone tray with snap-on lid holds dry goods without spills. Advantage: keeps multiple options organized. Steps: 1) Rinse and load each compartment with cereal, crackers, fruit slices, 2) secure the lid with firm pressure, 3) use suction base on tray table or smooth floor tile to prevent spills. Cost: under $15, sold via global e-commerce platforms. Caveat: avoid liquids—this unit isn’t leakproof.
- Foldable Foot Hammock: A nylon loop straps under seats for kids to rest legs or swing feet gently. Advantage: relieves fidgeting on long waits. Steps: 1) Slide loops around the underside of a chair or bench, 2) clip carabiner hooks to two anchor points, 3) adjust length until feet dangle comfortably. Availability: sold at travel gear outlets in North America and Europe. Insider note: test tension in a low-pressure moment to avoid mid-lounge re-adjustments.
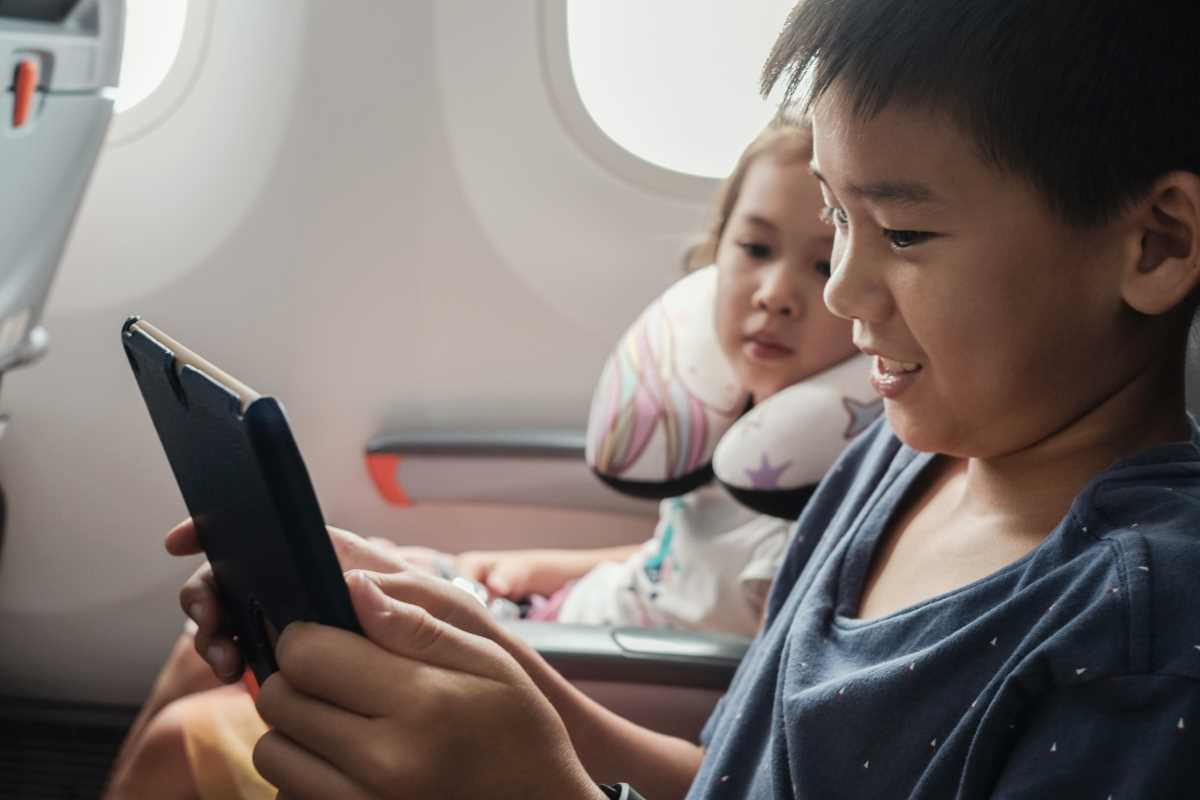
- Pre-Loaded Tablet Sleeve: A slim neoprene case loaded with age-appropriate video content and educational apps. Advantage: quick distraction on demand. Steps: 1) Download videos to tablet before departure, 2) pack charging cable and portable battery in adjacent pouch, 3) hand tablet docked in lap tray when little eyes start to wander. Cost: negligible for sleeve, prepaid data or local Wi-Fi may cost extra. Pro-tip: set screen brightness to low to reserve battery and reduce glare.
- Stroller Board Hitch: A universal plate attaches behind a stroller so an older child can stand or sit while you push. Advantage: spans age gaps without juggling two devices. Steps: 1) Secure mounting plate under stroller handle, 2) snap board into place using spring latch, 3) adjust wheel height for no-scratch clearance. Cost: about $25, available online with international shipping. Caution: weight limit usually around 50 pounds—check specs before purchase.
- Magnetic Toy Set: A flat travel board with magnetic pieces that stick, perfect for window sills or metal benches. Advantage: less chance of lost parts. Steps: 1) Place board on smooth surface, 2) hand over set of shapes or characters, 3) invite creative play or story-building. Cost: $20–$30, often sold in specialty children’s stores. Insider tip: pack extra magnets in an easy-to-reach compartment to keep curiosity stoked.
Quick Tips for Busy Families
- Map first, then explore: Identify calm lounges near boarding gates using airport apps before moving through crowds.
- Rotate snacks: Change choices every 15–20 minutes to keep interest high—dry fruit, cheese cubes, cereal pieces.
- Silent countdown: Use fun timers on your phone to announce boarding windows, helping little ones prepare calmly.
- Hook drinks: Attach bottles or cups to belt loops or stroller frames so they won’t fall and cause messes.
- Play stories offline: Queue short children’s stories on your device to enjoy during waiting periods.
Mastering smooth travel turns large, noisy halls into familiar corridors instead of obstacles. Navigating airports with this toolkit feels less like herding cats and more like leading a small adventure.
Pack these items and keep a positive mindset at the airport. You will handle chaos with laughter instead of frustration.